
Unleash the Power of the Vortex! 🌪️
Your Epic Guide to Creating a Tornado in a Bottle and Winning the Science Fair
🎯 Your Scientific Goals
General Objective (The «What»)
Demonstrate visually how vortices are formed, applying the principles of vortex formation. centripetal force and the fluid dynamics to create a functional tornado model.
Personal Objective (The «What For»)
Understand why water spins as it empties and construct an experiment that not only works, but that I can explain to my peers and the judges. why works, and look amazing in the process!
What is this Magic? The Science of the Vortex
Have you ever seen water go down the drain? It creates a swirl! That, my friend, is a vortex. A tornado is the same, but on a gigantic scale and with air instead of (only) water.
Think of it this way:
- ✨ Centripetal Force: It is the «force» that forces things to move in a circle. When you turn the bottle, you push the water towards the center.
- 🌪️ The Eye of the Tornado: As the water is pushed sideways and spins fast, it leaves a «hole» in the middle. This is where the air from the bottle below can easily rise up.
- ⬇️ Gravity + Vortex = Speed!This air tunnel allows the water to go down much faster than if it tried to «gluggle» against the rising air.
Did you know that...? 🤔
On Earth, tornadoes (and hurricanes) in the Northern Hemisphere almost always rotate counterclockwise, and in the Southern Hemisphere, clockwise. This is due to the Coriolis effect, (Although in your bottle, the direction in which you turn it will be the dominant factor 😉).
🔬 Your Plan of Attack: The Scientific Method.
- Observation: I find that if I just turn a full bottle of water over an empty one, the water goes down very slowly, «glugluting».
- Question: Can I make the water go down faster by spinning it?
- Hypothesis: If I spin the top bottle in circles, I will create a vortex (a whirlpool) that will allow the air in the bottom bottle to rise as the water goes down, emptying in less time.
- Experimental Design: I will use two bottles joined together. I will measure the time it takes for the water to empty (Test A: just tipping) and the time it takes if I spin it (Test B: with vortex). I will repeat each test 3 times to get an average.
- Data Analysis: I will record the times in a table and calculate the average. I will compare the time of Test A with Test B.
- Conclusion: If the time of Test B is significantly shorter, my hypothesis is correct. The vortex accelerates the casting.
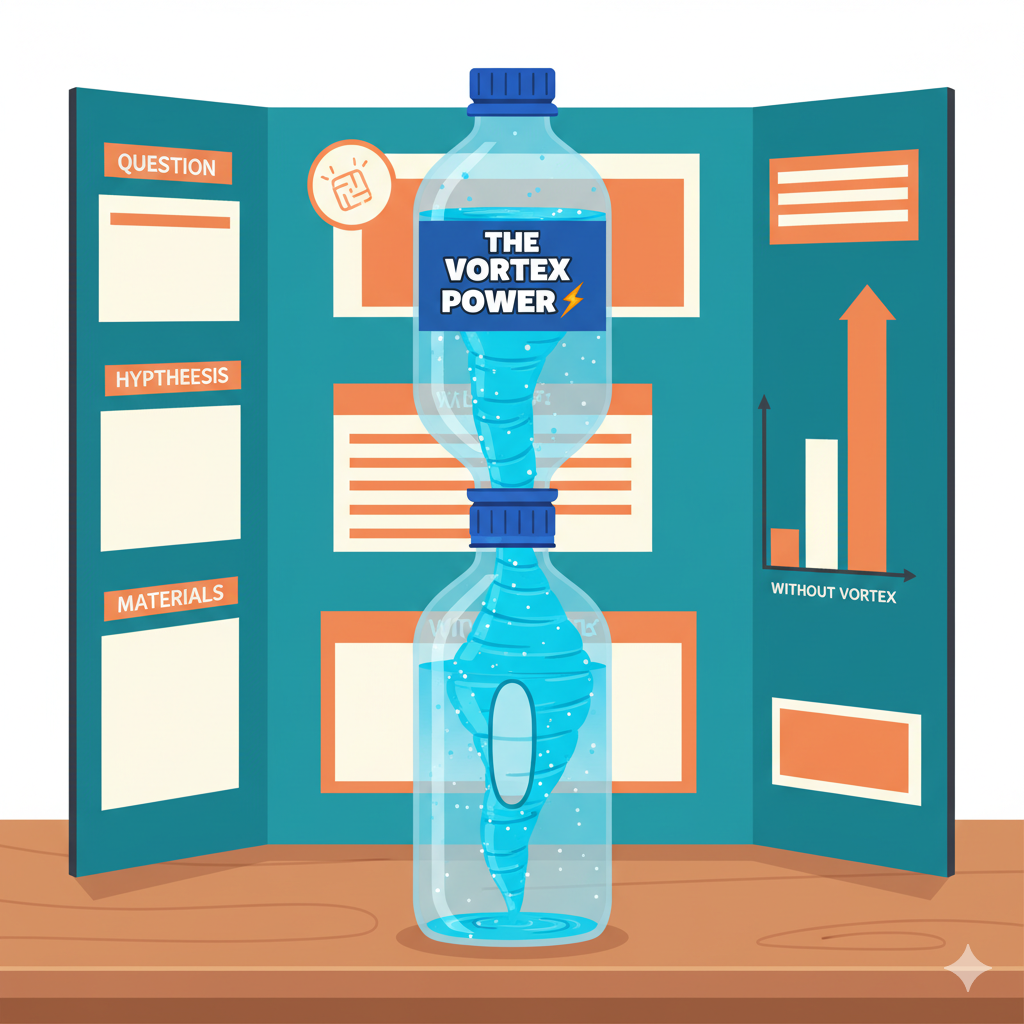
🧩 Here's what your Creation looks like
Your experiment is a closed system of two identical plastic bottles, firmly joined at their mouths. The upper bottle contains water (sometimes with dye or glitter to see the effect better), and the lower one is empty (filled with air).
Diagram of your Vortex (when flipped):
+------------------+
| (AIR) |
| Empty Bottle |
| / \ |
| / _ \ |
+=====[ UNION ]====+
| \ / |
| | / <---- (Air tunnel)
| (WATER VORTEX) |
| Full Bottle |
+------------------+
Danger Zone! ⚠️ Watch out here!
The weak point is the joint! Make sure it is 100% sealed. If you use tape or glue, make it waterproof! A leak can ruin your presentation and get everything wet. Test your mount over a sink or outside first.
🛠️ Your Scientist Kit
You don't need a million-dollar lab! Here are your options:
| Material | Economic Option (Recycle) | Standard Option (Reliable) | Professional Option (Wow!) |
|---|---|---|---|
| Bottles (2) | 1L soft drink bottles (equal) | 2L soft drink bottles (larger, better vortex) | Smooth clear acrylic bottles |
| Union | Lots of duct tape / plumber's tape | A perforated lid and hot glue | Plastic connector for tornadoes (to be purchased online) |
| Water | Tap water | Tap water | Distilled water (for maximum clarity) |
| Viewer | Nothing (only water) | Food coloring (blue or red) | Dye + fine glitter (simulates debris) |
| Sealer | (Already included in the tape) | Hot glue gun or silicone gun | Rubber washer (if using connector) |
🧭 Your Adventure Map: Step by Step
- Clean your Bottles (Time: 5 min): Remove the labels. Make sure they are clean and dry on the outside.
- Prepare the Water (Time: 2 min): Fill one of the bottles about 3/4 full. Don't fill it all the way, you need space for the vortex to form.
- Create the Union (Time: 15 min): This is the critical step!
- Connector option: Simply screw the connector to both bottles and you're done!
- Tape option: Place the empty bottle upside down over the full bottle. Wrap the joint with 5-6 wraps of plumber's tape (stretching it) and then 3-4 wraps of electrical tape tightly.
- Leak Test (Time: 3 min): Flip the assembly over a sink - does anything come out? If so, dry and add more tape or sealant.
- Starts the Vortex (Time: 10 sec): Hold the assembly firmly by the joint. Turn it upside down (water bottle on top). Give it a quick, firm circular twist (as if you were stirring a large pot).
- Watch the Magic! (Time: 1 min): Put the setup down on a table and watch. You should see a perfect vortex forming and the water rushing down. Take your time for analysis!
💡 Pro Tip
Add 2-3 drops of food coloring and a pinch of glitter - don't overdo it with the glitter or it will get stuck! The blue food coloring looks great.
Scientist Alert! 🚨
Don't use hot glue if you use very thin soda bottles! The heat can deform the plastic and ruin the seal. It is better to use it with harder plastic bottles.
🎪 Shine at the Fair! Your Presentation
The Poster (Your «Trailer»)
- Title: Big and clear! «THE POWER OF THE VORTEX: PHYSICS IN A BOTTLE».
- Sections: Use those of the scientific method (Question, Hypothesis, etc.).
- Graphics: Include your timing chart! A bar chart comparing «With Vortex» vs. «Without Vortex» is a sure 10.
- Colors: Use the colors of your experiment (e.g., blue) on the poster.
Interactive Ideas (The «Game»)
- Let them do it! Have your set-up ready for the judges and visitors to turn it themselves.
- Have a stopwatch handy. Challenge people to «guess» how much faster it is with the vortex before demonstrating.
- Have a «No Vortex» setup (just flip it over) next to it for real-time comparison.
Phrases to Impress (Your «Speech»)
- «This is not just a whirlwind, it is a demonstration of the centripetal force and the conservation of angular momentum.»
- «So you see, by creating an air channel, we break the atmospheric pressure that slowed down the water. It's pure efficiency.»
- «This same principle applies to everything from atmospheric tornadoes to how galaxies spin.»
📎 Researcher's Toolbox.
Template: Data Registration
Science is based on data! Use this table for your experiment. Record the times in seconds.
| Test | Attempt 1 (sec) | Attempt 2 (sec) | Attempt 3 (sec) | Average Time (sec) |
|---|---|---|---|---|
| A: Flip Only (No Vortex) | ||||
| B: Rotate (With Vortex) |
Checklist
- [Are my two bottles identical?
- [Is the joint 100% sealed (tested over the sink)?
- [Do I have my data table ready to be filled in?
- [Have I practiced my «Phrase to Impress» 3 times?
- [Is my sign readable from 2 meters away?
- [Do I have a towel handy (just in case)?
Sources for Super-Scientists
- NASA Climate Kids: What Is a Tornado?
- National Geographic Kids: Tornadoes
- Physics books from your school (search for: «fluid dynamics» and «angular momentum»).