

Content
Discover 10 easy, fun and educational science experiments for elementary and middle school students. Ideal for school fairs, school projects and STEM learning.
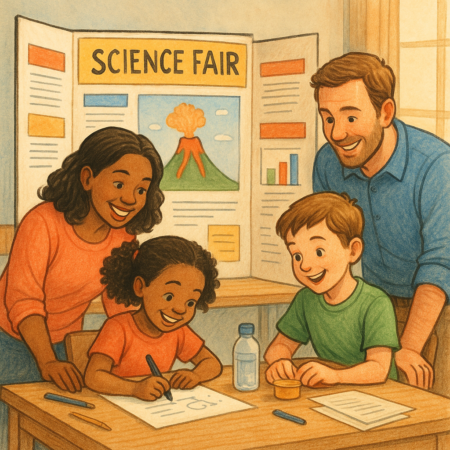
Why Do a Science Fair Experiment?
Science fairs are an excellent opportunity for students of all levels to develop critical thinking skills, creativity and scientific methodology. Conducting a science fair experiment is not only fun, but also encourages active learning in areas such as biology, chemistry, physics and the environment.
In this comprehensive guide, we show you easy-to-do science experiments with homemade materials, ideal for children and young adults. Each project is designed to be safe, educational and visually appealing in a school presentation.
Benefits of School Science Experiments
- Development of scientific thinking: Learn to formulate hypotheses, observe and analyze results.
- Practical application of knowledge: Linking school theories to real life.
- Teamwork: Many experiments encourage collaboration among peers.
- Confidence in presentations: Improve oral skills when explaining the project.
- Stimulation of curiosity: Promotes interest in science and technology (STEM).
In addition, participating in a science fair can be key to developing a lasting passion for scientific and technical careers.

10 Science Fair Experiments (Easy & Educational)
Here is a selection of science experiments that are ideal for school fairs. All use inexpensive and safe materials and are designed for different educational levels.
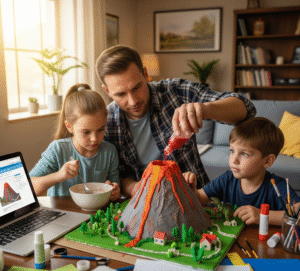
1. Baking Soda and Vinegar Volcano
Area: Chemistry
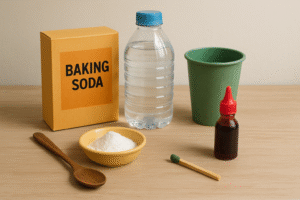
This classic experiment demonstrates an acid-base reaction. By mixing baking soda with vinegar, carbon dioxide is produced, creating a visual «rash».
Materials: Baking soda, vinegar, red dye, container, plasticine or modeling clay.
Key learning: Chemical reactions and gas release.
2. Rainbow in a Glass (Density of Liquids)
Area: Physics / Chemistry
Using honey, water, alcohol and oil, a column of liquids of different densities that do not mix is created.
Materials: Glasses, spoons, colorants, liquids of different densities.
Key learning: Density and physical properties of liquids.
3. Salt Crystal Growth
Area: Chemistry / Geology
When salt or copper sulfate is dissolved in hot water and allowed to cool, visible crystals form within days.
Materials: Salt, water, thread, glass, pencil.
Key learning: Crystallization and saturation of solutions.
4. Solar Energy with a Toy Car
Area: Energy / Physics
Build a small car powered by a homemade solar panel or use an educational solar kit.
Materials: Small solar panel, motor, wheels, cardboard chassis.
Key learning: Renewable energies and energy conversion.
5. Electromagnetism with Nails and Copper
Area: Physics / Electricity
Wrap copper wire around a nail and connect it to a battery to create an electromagnet.
Materials: Iron nail, copper wire, AA battery, metal clips.
Key learning: Induced magnetism and simple electrical circuits.
6. Carbon Footprint at Home
Area: Environment
Calculate your family's carbon footprint using a questionnaire and compare with national averages.
Materials: Spreadsheet, electricity consumption data, transportation, diet.
Key learning: Sustainability and environmental impact.
7. Seed Germination with Light vs. Darkness
Area: Biology / Botany
Compare the growth of seeds (beans or lentils) exposed to light and in total darkness.
Materials: Seeds, cotton, cups, aluminum foil.
Key learning: Photosynthesis and phototropism.
8. Homemade Slime (Polymers)
Area: Chemistry
Mix white glue with borax or contact solution to create slime. Ideal for demonstrating polymers.
Materials: Glue, borax, water, colorant.
Key learning: States of matter and chemical bonds.
9. How a Lung Works (Bottle Model)
Area: Biology / Anatomy
Use a plastic bottle, balloons and straws to simulate inhalation and exhalation.
Materials: Bottle, balloons, scissors, ribbon.
Key learning: Human respiratory system.
10. Non-Spill Water (Surface Tension)
Area: Physics
Fill a glass to the brim and place paper clips or coins on top without spilling the water.
Materials: Glass, water, clips, dropper.
Key learning: Surface tension and molecular cohesion.
Download our PDF Guide with Step-by-Step InstructionsMaterials and Resources Needed
Most experiments can be done with low-cost or recycled materials. Here is a general list of what you might need:
- Sodium bicarbonate and vinegar
- salts (sodium chloride, copper sulfate)
- White glue and borax
- Batteries and cables
- Plastic bottles and disposable cups
- Seeds (beans, lentils)
- Food coloring
- Cotton and aluminum foil
Tip: Use a data table to record daily observations. This improves the scientific validity of the project.
How to Present your Science Fair Project
A good experiment needs a good presentation. Follow these steps to stand out:
- Attractive cover: Include title, name, grade and school.
- Problem and hypothesis: Explain what you wanted to discover.
- Materials and method: Describe how you performed the experiment.
- Results: Use graphs, pictures or tables to display data.
- Conclusion: Was your hypothesis correct and what did you learn?
- Visual elements: Include models, diagrams or live experiment.
Professional tip: Practice your explanation with family members. It should last between 3 and 5 minutes.
Download Scientific Project Template (Word)Frequently Asked Questions about Science Fair Experiments
What is an appropriate age to participate in a science fair?
Students from 3rd grade through high school can participate. Experiments should be adjusted to the student's educational level and scientific understanding.
How long does it take to do a science fair experiment?
It depends on the project. Some, like the bicarbonate volcano, are done in minutes. Others, such as crystal or seed growth, require 5 to 14 days of observation.
Can I do the experiment at home?
Yes, most of the recommended experiments are safe and can be done at home with adult supervision, especially when using batteries or chemicals.
What do I do if my hypothesis is incorrect?
No problem! In science, learning from mistakes is part of the process. Explain why you think it happened and what you would change in the future.
How can I make my project stand out?
Use colors, clear graphics, 3D models and keep your presentation simple but professional. Clarity and passion for the subject make the difference.