
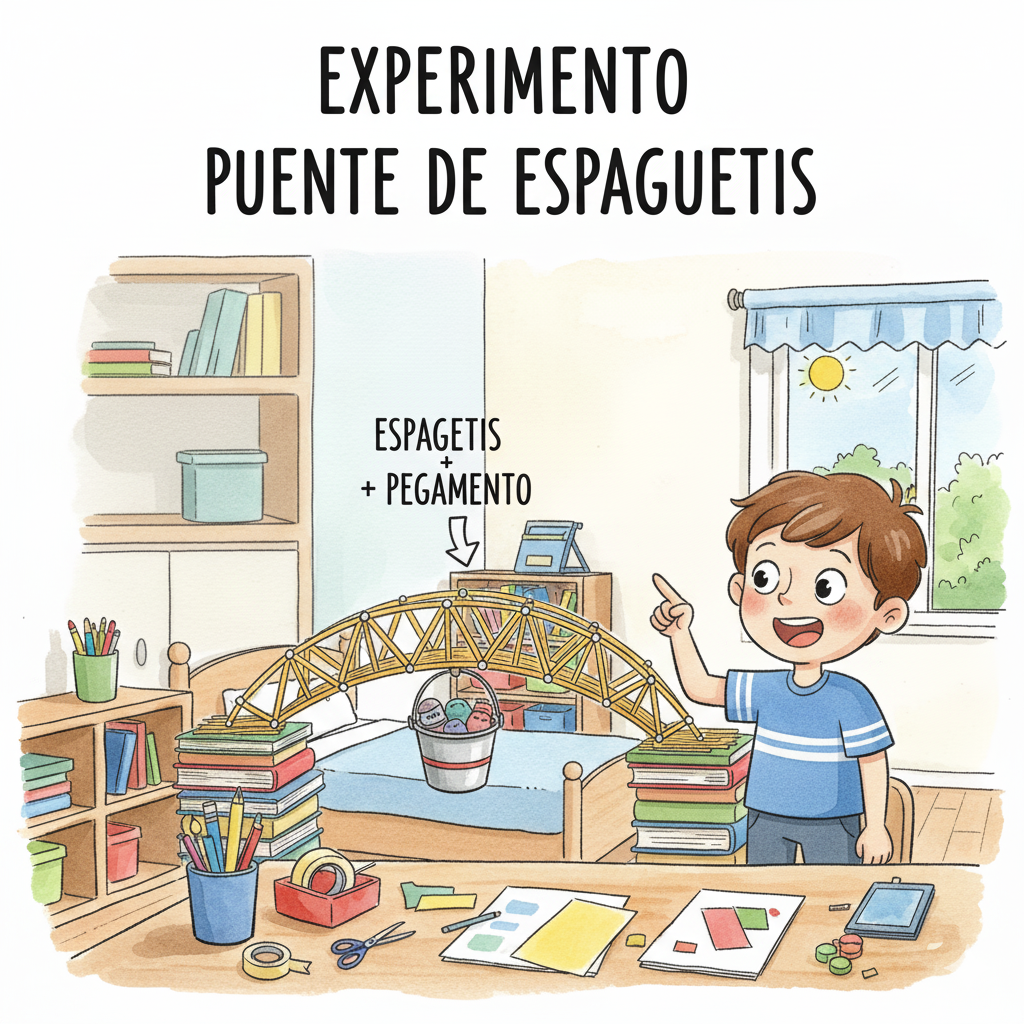
Builds a Spaghetti Bridge super resistant 🏗️ and conquers the science fair
Design, test and improve a lightweight structure that will support as much weight as possible using only paste and glue.
🎯 Clear and challenging objectives.
Overall objective
Apply the scientific method and basic structural engineering principles to design, construct and evaluate a spaghetti bridge that maximizes the supported load without collapse.
Personal objective
Develop your own iterative process: imagine → build → measure → improve. Define a goal (e.g., support 3 kg) and compete with yourself to achieve it.
🌍 Theoretical introduction (fast and fun)
Real bridges combine shapes and materials to distribute forces. On your spaghetti bridge, you you will decide how to transform traction y compression in stability using very light elements.
- 💪 Resistancecapacity to withstand forces without breaking.
- 🧱 Compressioncrushing“ (columns and pillars suffer it).
- 🪢 TractionStretching“ (cables and suspenders resist it).
- 🔺 TriangulationTriangles provide rigidity and prevent deformation.
- ⚖️ Load/weight ratio: efficiency of your design.
🔬 Scientific method: your plan of attack.
- Observation: look at examples of bridges (truss, arch, beam). What shapes are repeated?
- Question: which spaghetti bridge design supports more weight per gram?
- Hypothesis: “If I use small triangles at the top and bottom (Pratt truss), then it will increase the stiffness and peak load.”.
- Experimental design: define light (distance between supports), materials, bonding (glue), and incremental loading protocol.
- Data collection: records bridge mass, applied loads and failure mode.
- Analysis: calculates ratio
max_load / bridge_massand compare designs. - Conclusion: accept or reject your hypothesis and propose improvements.
🧩 Graphical description of assembly
Support A Support B
╔══════════════════════════════════════════╗
| \ /\ /\ /\ /\ /\ /\ /\ /\ /\ /\ /\ / |

| / \/ \/ \/ \/ \/ \/ \/ \/ \/ \/ \/ \ |
╚══════════════════════════════════════════╝
               || ||
               || || || ← Load point (bucket/weight)
               || ||
================== TABLE / BENCH ==================
- Do not apply loads on people or animals.
- Protects eyes and hands when the bridge breaks (fragments of paste may jump).
- Uses stable, unobstructed surface; form-fitted loading gradual.
🛠️ Materials with smart options
| Item | Economic Option | Standard Option | Professional Option |
|---|---|---|---|
| Spaghetti | Common spaghetti (2-2.2 mm) | Hard spaghetti (high protein content) | Homogeneous premium brand spaghetti |
| Adhesive | School liquid silicone | Glue gun (low temp.) | Two-component epoxy (supervised use) |
| Supports | Books/boxes alike | Wooden blocks with fixed height | 3D brackets with slot |
| Charging application | Bottle with water in increments | Bucket + graduated sand | Laboratory weights with hook |
| Instruments | Ruler, kitchen scale | Manual calibrator | Precision digital scale |
| Security | Plastic glasses | Glasses + gloves | Full face protection |
Tip: if on mobile you see the table cropped, slide horizontally 👆.
🧭 Step-by-step guide: your adventure map
- Define light (e.g., 50 cm between supports). Time: 5 min
- Sketches 2-3 designs (Pratt/Warren/Howe truss). Time: 15 min
- Cutting/grouping of rods (make “beams” by gluing 3-5 spaghetti). Time: 20 min
- Arm laces upper and lower in parallel. Time: 20 min
- Triangula the soul with repeated short pieces. Time: 30-40 min
- Reinforces support and loading point (small cardboard plates). Time: 10 min
- Let cure the adhesive. Time: 30-60 min
- Incremental load test (note each increment). Time: 15-20 min
🎪 Prepare your presentation for the fair.
Winning poster (suggested structure)
- Powerful title + team (names, course).
- Question and hypothesis visible.
- DesignSketch/ASCII + construction photos.
- Data: table and graph of load vs. deformation.
- Conclusion y what would you improve in the next version.
Interactive ideas
- Mini-demonstration with a test model (small loads).
- Challenge to the public: Which part fails first and why?
- Comparison of models: Pratt vs. Warren vs. Howe.
Phrases to impress judges
- “We optimize the load/weight ratio using dense triangulation.”
- “We identified mode of failure by buckling in the upper chord.”
- “We improved the rigidity Increasing the moment of inertia with spaghetti bundles.”
📎 Useful appendices
Data logging template
| Test # | Bridge mass (g) | Load increase (g) | Total load (g) | Deformation (mm) | Failure mode | Remarks |
|---|---|---|---|---|---|---|
| 1 | +100 | |||||
| 2 | +100 | |||||
| 3 | +100 |
Tip: calculates efficiency: max_load (g) / bridge_mass (g).
Checklist
- [I defined the light and supports in a stable way.
- [I drew and compared at least 2 designs.
- [I constructed uniform cords and triangulation.
- [Reinforcement in supports and point load placed.
- [I tested with equal increments and recorded data.
- [I analyzed failure mode and proposed improvements.
Recommended sources
- Introductory resources for structural mechanics.
- Videos about triangulation y truss.
- Design articles light y optimization.