
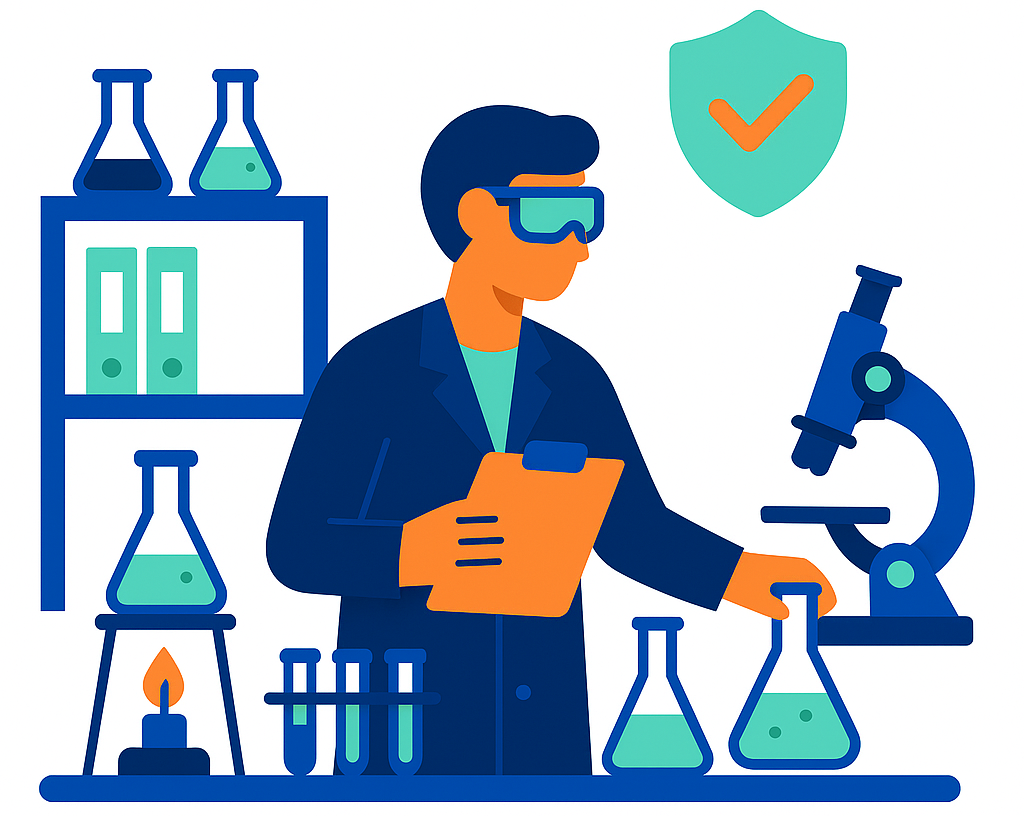
Organize a school lab It may seem like a complex task, especially when trying to balance safety, functionality, and limited resources. However, a well-structured space not only facilitates practical learning but also sparks scientific curiosity in students from an early age.
In the current context of STEM education, having a well-organized school laboratory has become a key tool for developing scientific competencies. Have you ever wondered how to optimize space, materials, and time in your science classroom?
In this article, you'll discover how to set up a school laboratory step-by-step, which materials are essential, and what strategies you can apply to improve the educational experience without complications.
Table of Contents
- Importance of a well-organized school laboratory
- How to organize a school laboratory step-by-step
- Essential materials for a school laboratory
- Strategies for optimizing laboratory use
- Common mistakes when organizing a school laboratory
Importance of a well-organized school laboratory
One school lab A well-organized classroom not only improves class dynamics but also ensures student safety. In spaces where materials, substances, or tools are handled, order is essential.
Furthermore, good organization allows for:
- Reduce unnecessary accidents and risks.
- Save time during hands-on activities.
- Foster student autonomy.
- Improve science materials management.
From the perspective of STEM education, the school laboratory becomes an environment where students experiment, investigate, and develop critical thinking. Therefore, it's not just about having resources, but about knowing how to structure them correctly.
The result? More dynamic, participatory, and effective classes.
How to organize a school laboratory step-by-step
Organize a school lab requires planning, but it doesn't have to be complicated. Here's a clear process you can apply starting today:
1. Define work zones
Divide the space into specific areas so that each activity has a defined place:
- Experimentation Zone.
- Storage area.
- Cleaning space.
2. Classify the materials
Group science materials by type, such as chemistry, biology, or physics. Use visible labels for easy access and restocking of each resource.
3. Set clear rules
Every school laboratory must have basic rules for use and safety. Place them in a visible location and review them with the students before each practice.
4. Optimize available space
Use vertical shelving, organizer bins, and mobile carts to make the most of your surroundings. This way, you can keep things tidy without cluttering your workspace.
An efficient organization not only improves workflow but also allows students to actively participate in the care of the school laboratory.
Essential materials for a school laboratory
Having the right materials is key to the functioning of any school lab. You don't need a large budget, but rather to carefully select the most useful resources for your pedagogical objectives.
Some basic materials include:
- Beakers and graduated cylinders.
- Microscopes, basic or digital.
- Thermometers and scales.
- Gloves, safety glasses, and gowns.
- STEM Experiment Kits.
Additionally, it's recommended to have digital solutions that help you manage activities and resources. Tools like educational platforms can complement the use of the physical laboratory.
For example, you can organize your practices and resources from platforms like Didaktos, facilitating learning planning and tracking.
Strategies to optimize the use of the school laboratory
It is not enough to organize a school lab; It's also important to use it efficiently. These strategies can help you get the most out of each session:
- Plan sessions in advance.
- Prepare material kits by group.
- Assign roles to students, such as coordinator or materials manager.
- Use rubrics to evaluate practices.
These actions not only improve time management but also foster skills such as teamwork, responsibility, and autonomy.
Did you know that students learn best when they actively participate? A well-managed lab enhances precisely that hands-on learning.
Common mistakes when organizing a school laboratory
When organizing a school lab, it's easy to make some mistakes that affect its operation and reduce the effectiveness of practical classes.
- Not labeling materials correctly.
- Hoarding unnecessary resources.
- Not establishing clear usage rules.
- Neglecting safety measures.
Avoiding these mistakes will make a big difference in the educational experience. A disorganized lab generates chaos, while a well-structured one drives learning.
The key is to simplify, periodically review resources, and maintain order constantly.
Conclusions
Organize a school lab efficiently is a direct investment in educational quality. It's not just about having materials, but about creating an environment where students can safely explore, experiment, and learn.
By applying simple strategies such as material classification, creating work zones, and using digital tools, you can completely transform your laboratory.
If you would like to discover more resources to improve teaching planning and optimize classroom work, visit Didaktos.
Ready to upgrade your school lab and take your classes to the next level?